
How to illustrate an idea? From notes, to sketches to final!
The development of an illustration, done by a human brain & human hands.

I always thought, you can’t make a living from art.
Why?
Because I heard it, felt it, perceived it, was societally conditioned to believe it etc…
Guess what? I was wrong :D
Now I spend parts of my days drawing, illustrating and coloring: for money.
I am being paid to do art. To do scientific illustrations. And I love it.
Combining science and art, thinking and creativity is really a dream combination; and if I am honest, I like the drawing and painting and illustrating slightly more ;)
Anyways, today I wanted to share with you how the process looks from meeting up with a client to the finished illustration.
Meet up & discuss the aim, scope, content, audience etc. with my client.
Meeting clients can happen in real life, here in Umeå, or via zoom. I usually ask questions so that my client can speak freely & I take notes.
Sometimes its with a pen on paper, sometimes on my iPad. Below you can see the long list of notes & questions I took in a recent meeting I had. I also like to add scribbles sometimes, because my mind sparks out visual ideas when it hears my client speaking & I like to keep track of those ideas:
Summary of my notes & visual sketches
I then process all these notes I took and summarize them into a smaller version. While doing that, certain layouts and ideas start building in my brain which I then sketch down too.
I often have more than one idea, or a second and third one evolve after I sketched down my first idea & realized its flaws.
It is a process that builds upon each other, & I would always encourage you to try out a handful of versions like you can see below. I sent those ideas of sketched layouts to my client already, so they get an insight into my brain and ideas.
This again will spark their brain & it is like a collaboration between two human brains and imagination centers! I love this part of the process!
Specific layouts
With the feedback and thoughts I get from my client, I work out more specific layouts and again: several options.
Its kind of like distilling ideas into one core idea, stripping away what we dont like, and focussing on what we want to be shown.
Here are the two first layout options we came up with as the next basis to discuss:
Spontaneous new ideas
This can happen a lot! Especially in the sketching stage, where it is still brainstorming and going back & forth.
Here we considered to merge the two ideas from before, to kind of take one core part of each of them and merge them into one.
We did disregard it, but thought that it could be possible to have two illustrations instead of one, for two different purposes, here it is:
Final layout idea decision + potential extra?
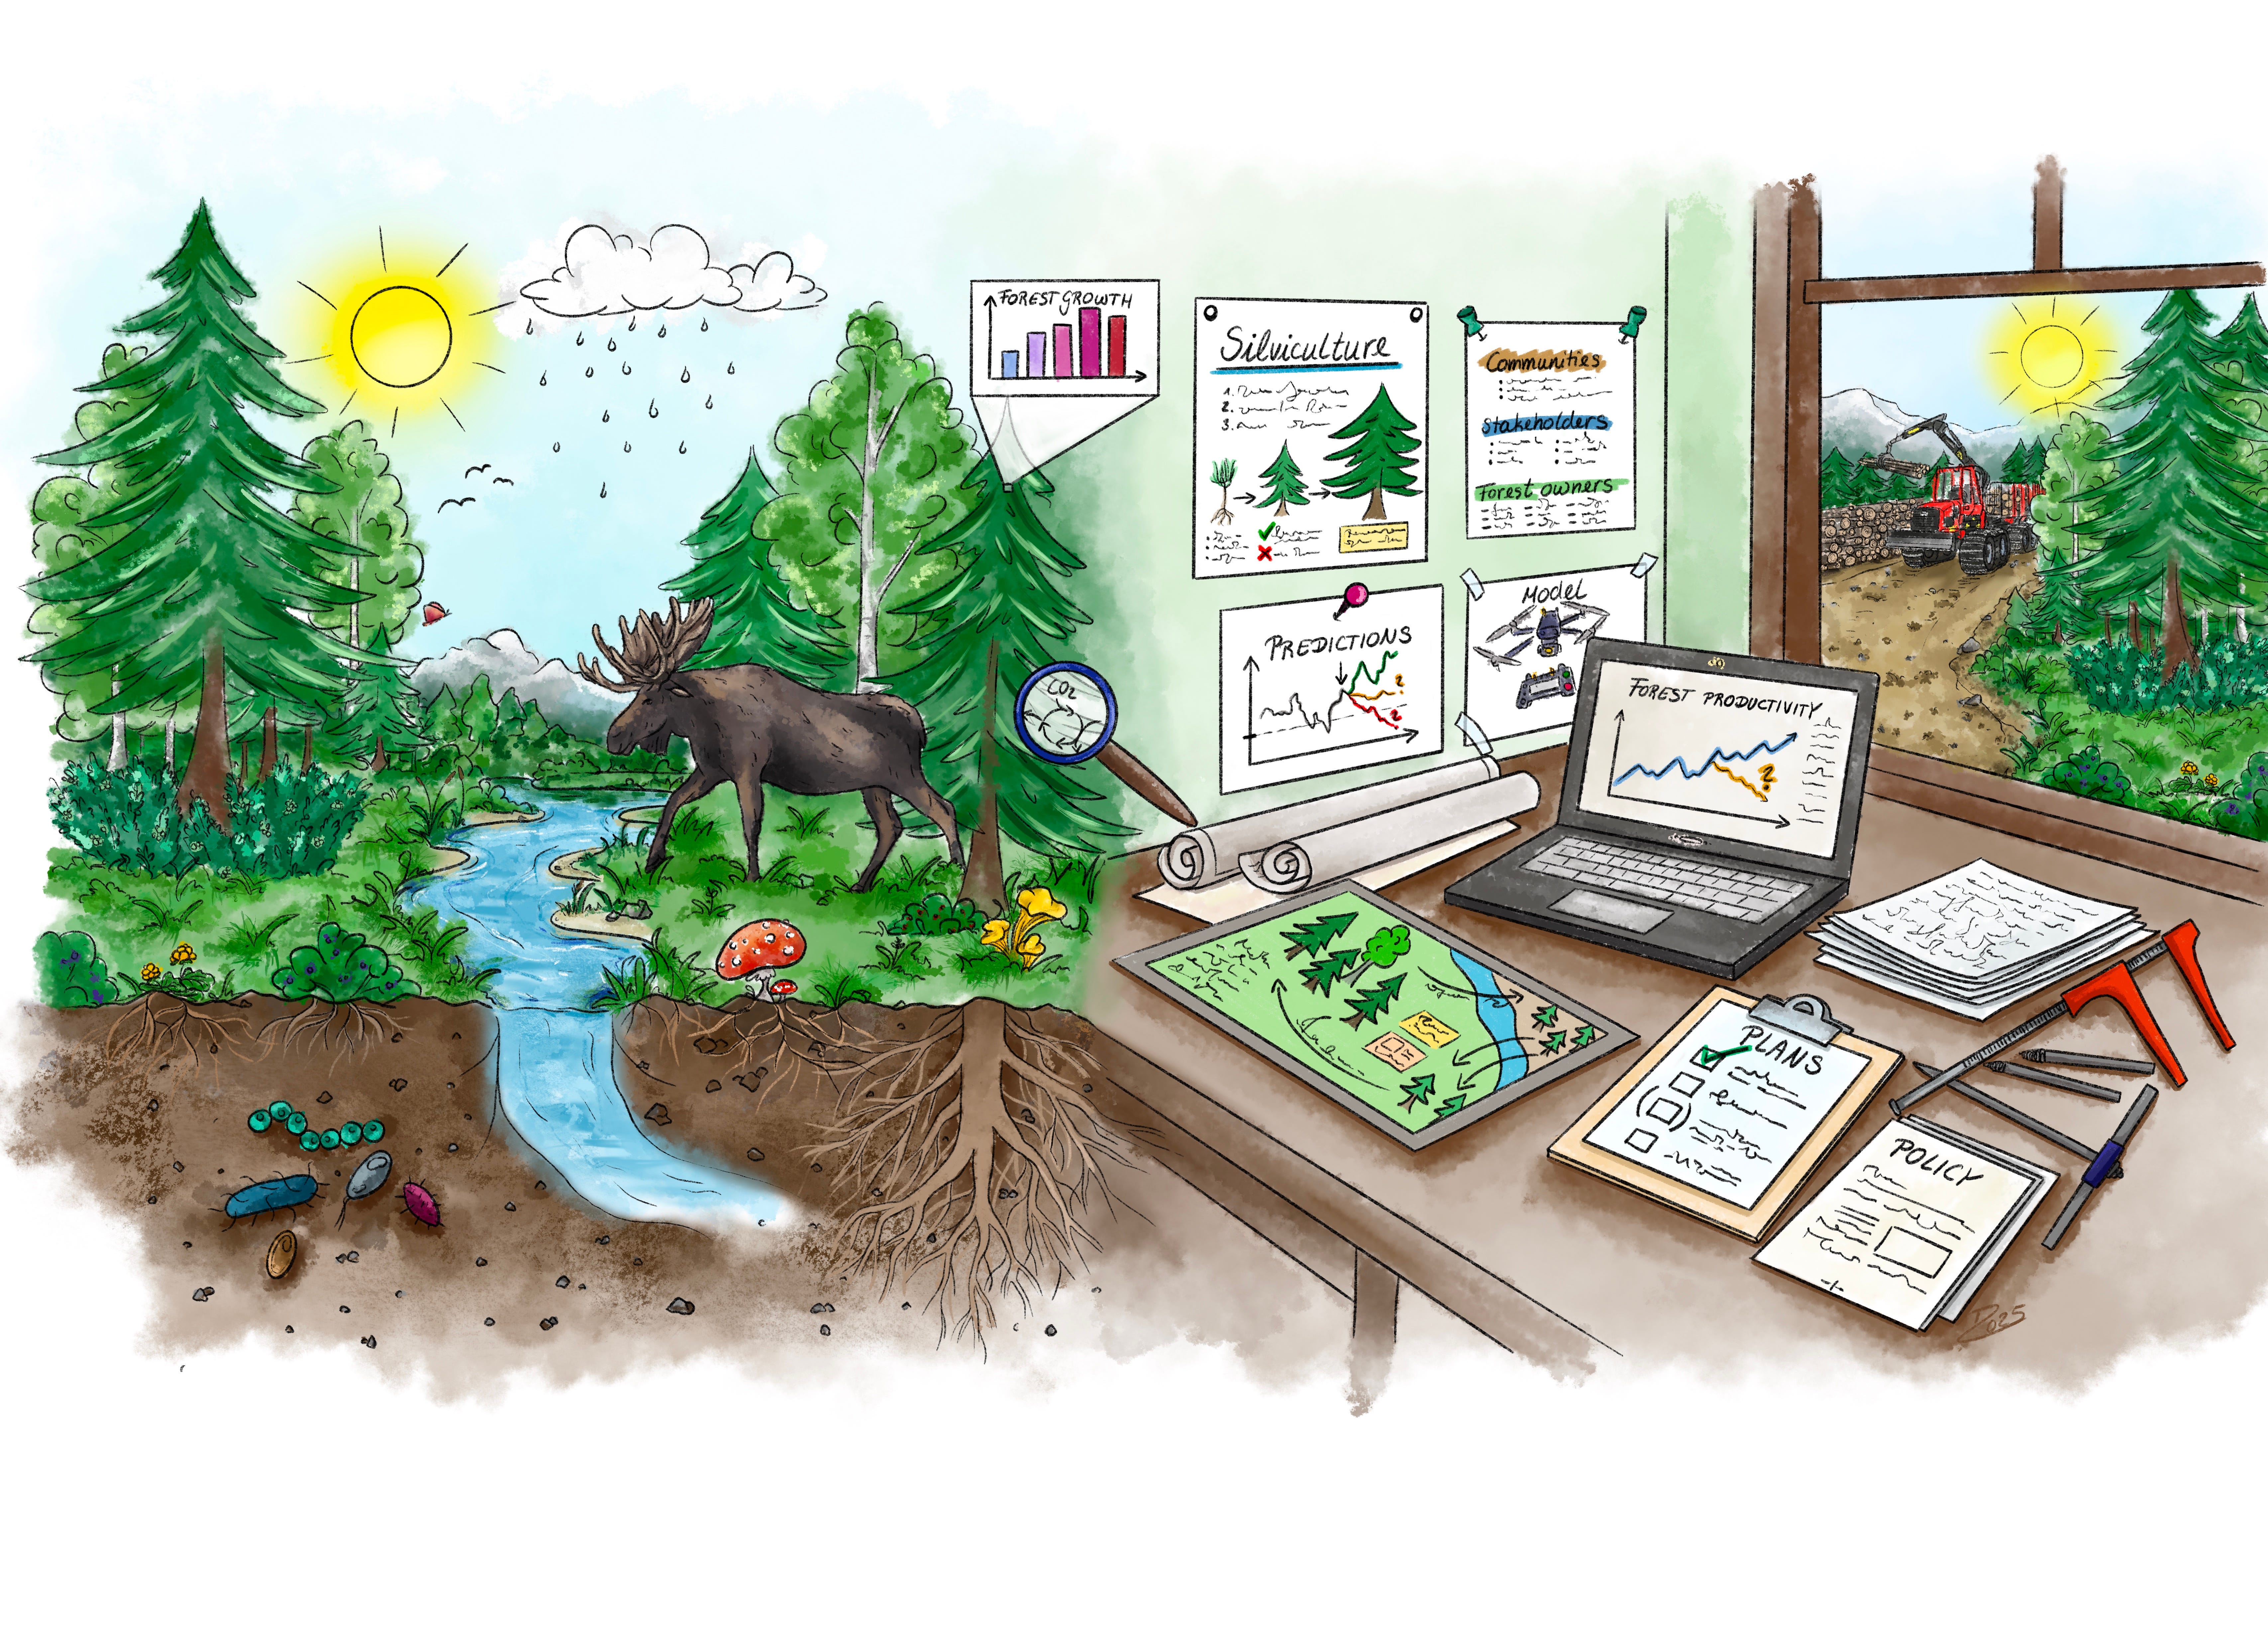
This whole process until now made us decide that I will draw a scenery that is part of two different worlds: forest ecology & management.
This illustration should show the concept of a masters program and the two fields that it is merging, so the students do not get surprised by either one of these areas when they get into the program.
We thought that representing the forest ecology part with a forestry scenery and the management part with a desk and tools and analyses would show them the best, at one look what they can expect from the program.
For more specifics we also thought to add icons with course syllabus contents for social media. For that, I also sketched two versions. Here you see the final sketches:
Final choice
And now we have it! This is the final sketch, with added edits from other course leaders:
Line-work based on chosen sketch
Now, maybe that seemed a lot of effort now, many steps & doings & re-doings.
But I can tell you: it pays off to go through this sketching-stage properly, cos this will avoid any unnecessary revisions further down the line. Better for my clients and better for me and my time :)
Oh ,and I forgot to share with your the part where we decide the style: I basically share some style-examples with my clients to show them how the final illustration could look like.
Depending on their need and the audience, this can differ quite a lot. Here my client choose a loose, water-color-y look with soft, sketchy lines. And for that, I usually start working on a proper line-work based on the sketch, to finally color it.
So here we go: the final line work of the sketch you saw before:
Coloring fun 1/2
I usually also send the finished line-work to my client, that is the last step small modifications could be done.
The main idea is though to keep them involved in the process & so far every client of mine loved to see the different parts evolving. They get very excited and causing them to feel happy & satisfied is very rewarding for me.
Then comes the fun with colors! I love colors and I enjoy coloring in my own artworks. I am not such a fan to do that with other coloring books, but when I made the design myself, I like it a lot!
Here you see the first part I started with, I usually begin with what I enjoy most & my favorite colors, so that I am keeping my motivation high ;).
Coloring fun 2/2
And here is the finished colored-in piece! I really like the final outcome a lot, I tried to keep similar color-schemes on both sides, so there is a balance.
Because a forest ecosystem is quite different from an office space. Thats why I tried to keep the greens and browns on similar levels and even have some parts being mirrored (forest scenery & outlook through window).
And: my client loved it a lot as well!
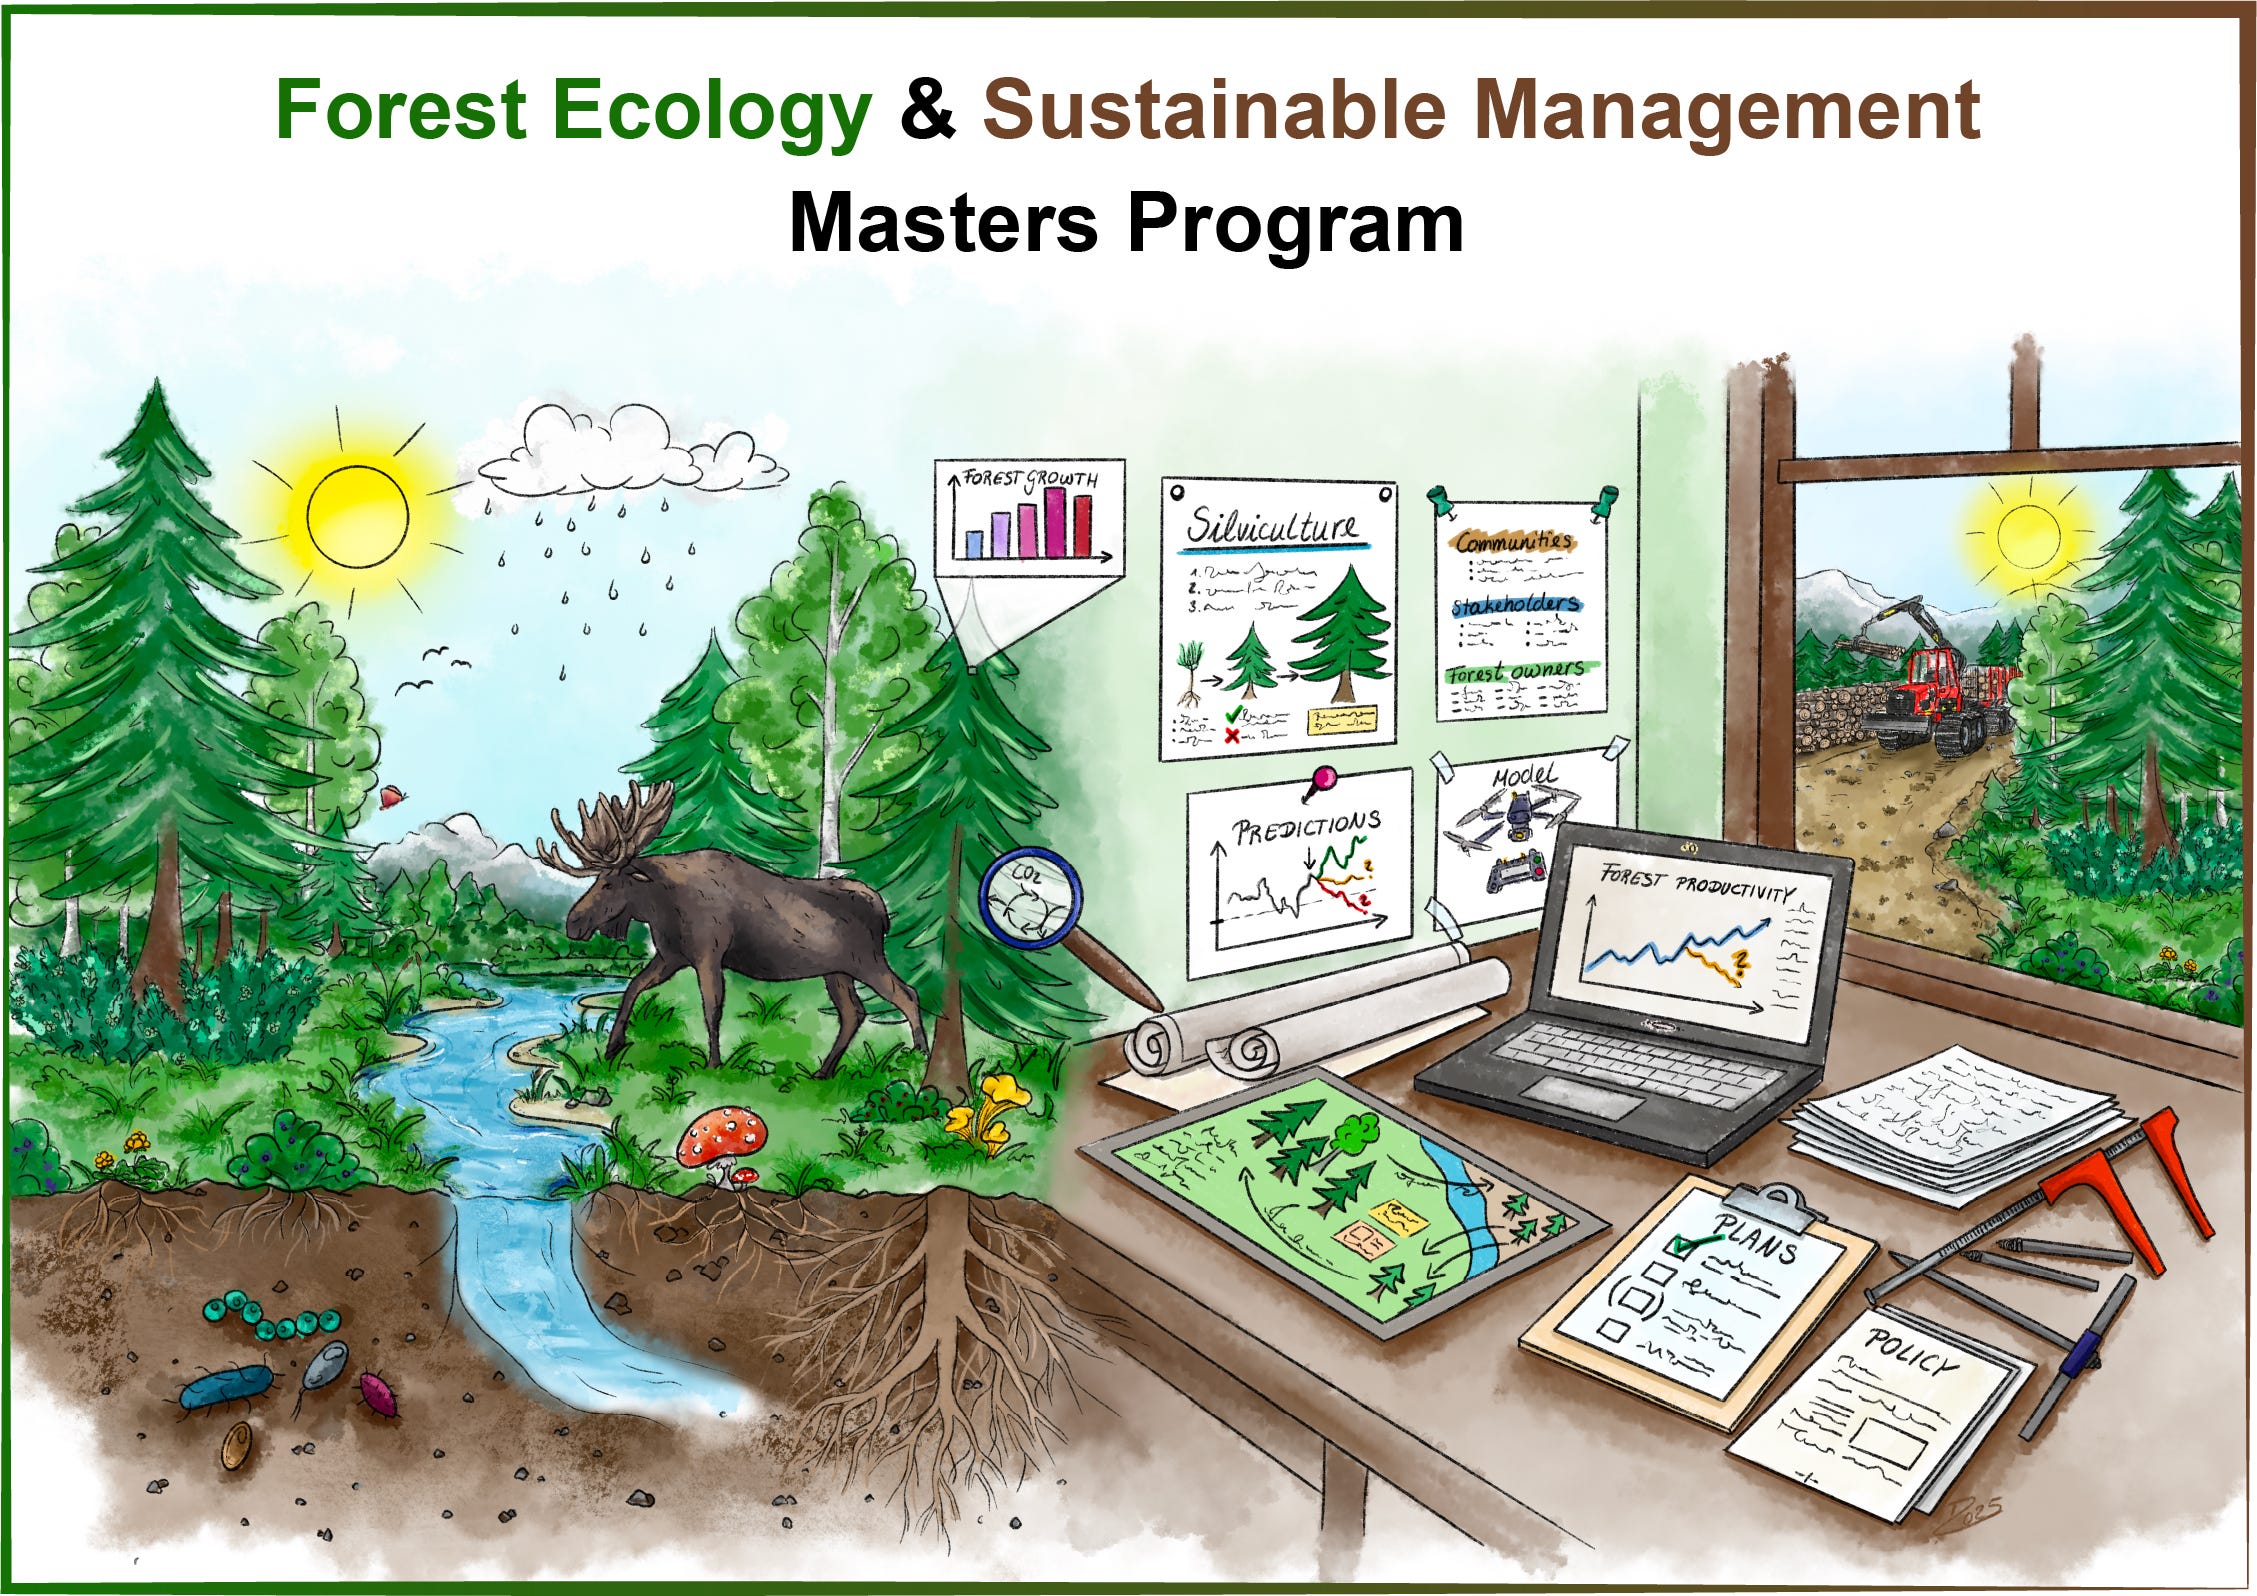
Last but no least: final design
I usually give my clients the final raw file, but also make several design layouts to choose from.
This one was the one my client chose to have a bit more context to the illustration:
Soooo, this was it for today, with a slight delay sent out on Monday instead of Sunday, but I hope that is still okay with you :)
Let me know if you like this kind of process insight and if it was valuable for you!
I wish you a great week ahead & until the next time!
Love,
Daria